If you’re a DIYer, you probably have a roll of painter’s tape lying around. But did you know that this simple tool is a game-changer for more than just crisp paint lines? Whether you’re into woodworking, crafting, home repairs, or even tech projects, painter’s tape can save you time, prevent mistakes, and improve your results.
In this guide, we’ll break down the best painter’s tape hacks that every DIYer should know.
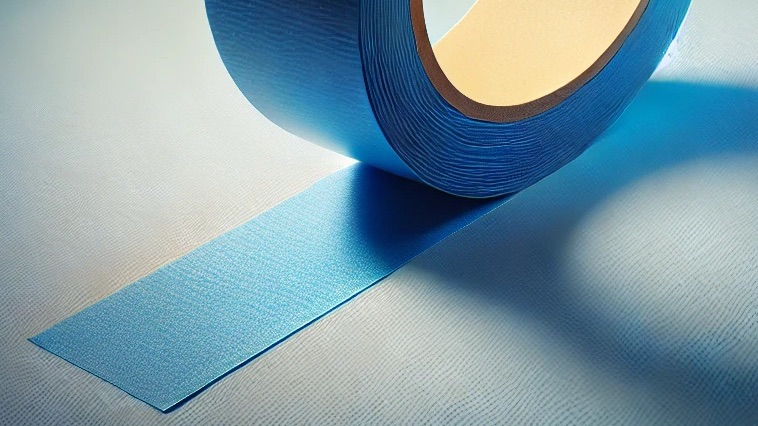
Why Painter’s Tape is a Must-Have for DIYers
1. It’s Easy to Use and Remove
Unlike other tapes, painter’s tape doesn’t leave residue or damage surfaces. This makes it perfect for temporary markings, securing parts, or masking off areas without the hassle of cleanup.
2. It Works on Multiple Surfaces
You can use painter’s tape on wood, metal, glass, fabric, plastic, and even walls. It’s versatile enough for almost any project.
3. It Saves Time and Reduces Mistakes
From precision measurements to preventing glue messes, painter’s tape can help you avoid errors, making your projects more professional and efficient.
Top DIY Painter’s Tape Hacks
1. Perfectly Straight Cuts in Woodworking
Problem: Cutting wood can sometimes lead to splintering, especially on plywood and MDF.
Solution: Apply painter’s tape along the cut line before using a saw. This helps reduce tear-out and splintering, leaving a cleaner edge.
Bonus Tip: Mark your measurements on the tape instead of the wood to avoid visible pencil marks.
2. Drill Holes Without Splintering
Problem: Drilling through wood or drywall often leaves rough, splintered edges.
Solution: Place a strip of painter’s tape over the drilling spot before drilling. The tape helps to hold wood fibers in place, reducing splintering.
3. Precision Caulking Without the Mess
Problem: Caulking can get messy, leaving uneven or smeared lines.
Solution: Apply painter’s tape along both sides of the caulk line. Once you’ve applied the caulk and smoothed it, remove the tape for a perfectly crisp finish.
4. Labeling and Temporary Markings
Problem: When working on projects, it’s easy to lose track of measurements, parts, and tool placements.
Solution: Use painter’s tape as a temporary label. Write on it with a marker and stick it to tools, wires, wood pieces, or walls. It peels off cleanly when you’re done.
Bonus Tip: Use different colors of painter’s tape to categorize and organize materials in multi-step projects.
5. No-Mess Glue Joints
Problem: Glue tends to squeeze out of joints, making it difficult to clean up before it dries.
Solution: Apply painter’s tape around the joint area before gluing. Any excess glue will land on the tape instead of the wood. Peel off the tape before the glue dries for a flawless finish.
6. Holding Small Parts in Place While Drilling
Problem: Small pieces tend to shift or spin when drilling, leading to inaccurate holes or even injuries.
Solution: Roll a piece of painter’s tape into a loop and stick it under the small part to hold it in place. This keeps it from moving without damaging the surface.
Painter’s Tape: A DIY Essential it
As you can see, painter’s tape is one of the most useful tools for any DIYer. Whether you’re into woodworking, home improvement, crafting, or electronics, it’s a must-have for precision, organization, and efficiency.
Next time you start a project, keep a roll of painter’s tape within reach—you’ll be surprised at how much easier it makes your work!
Boost Your DIY Skills with More Pro Tips, the DIY Geek way.